
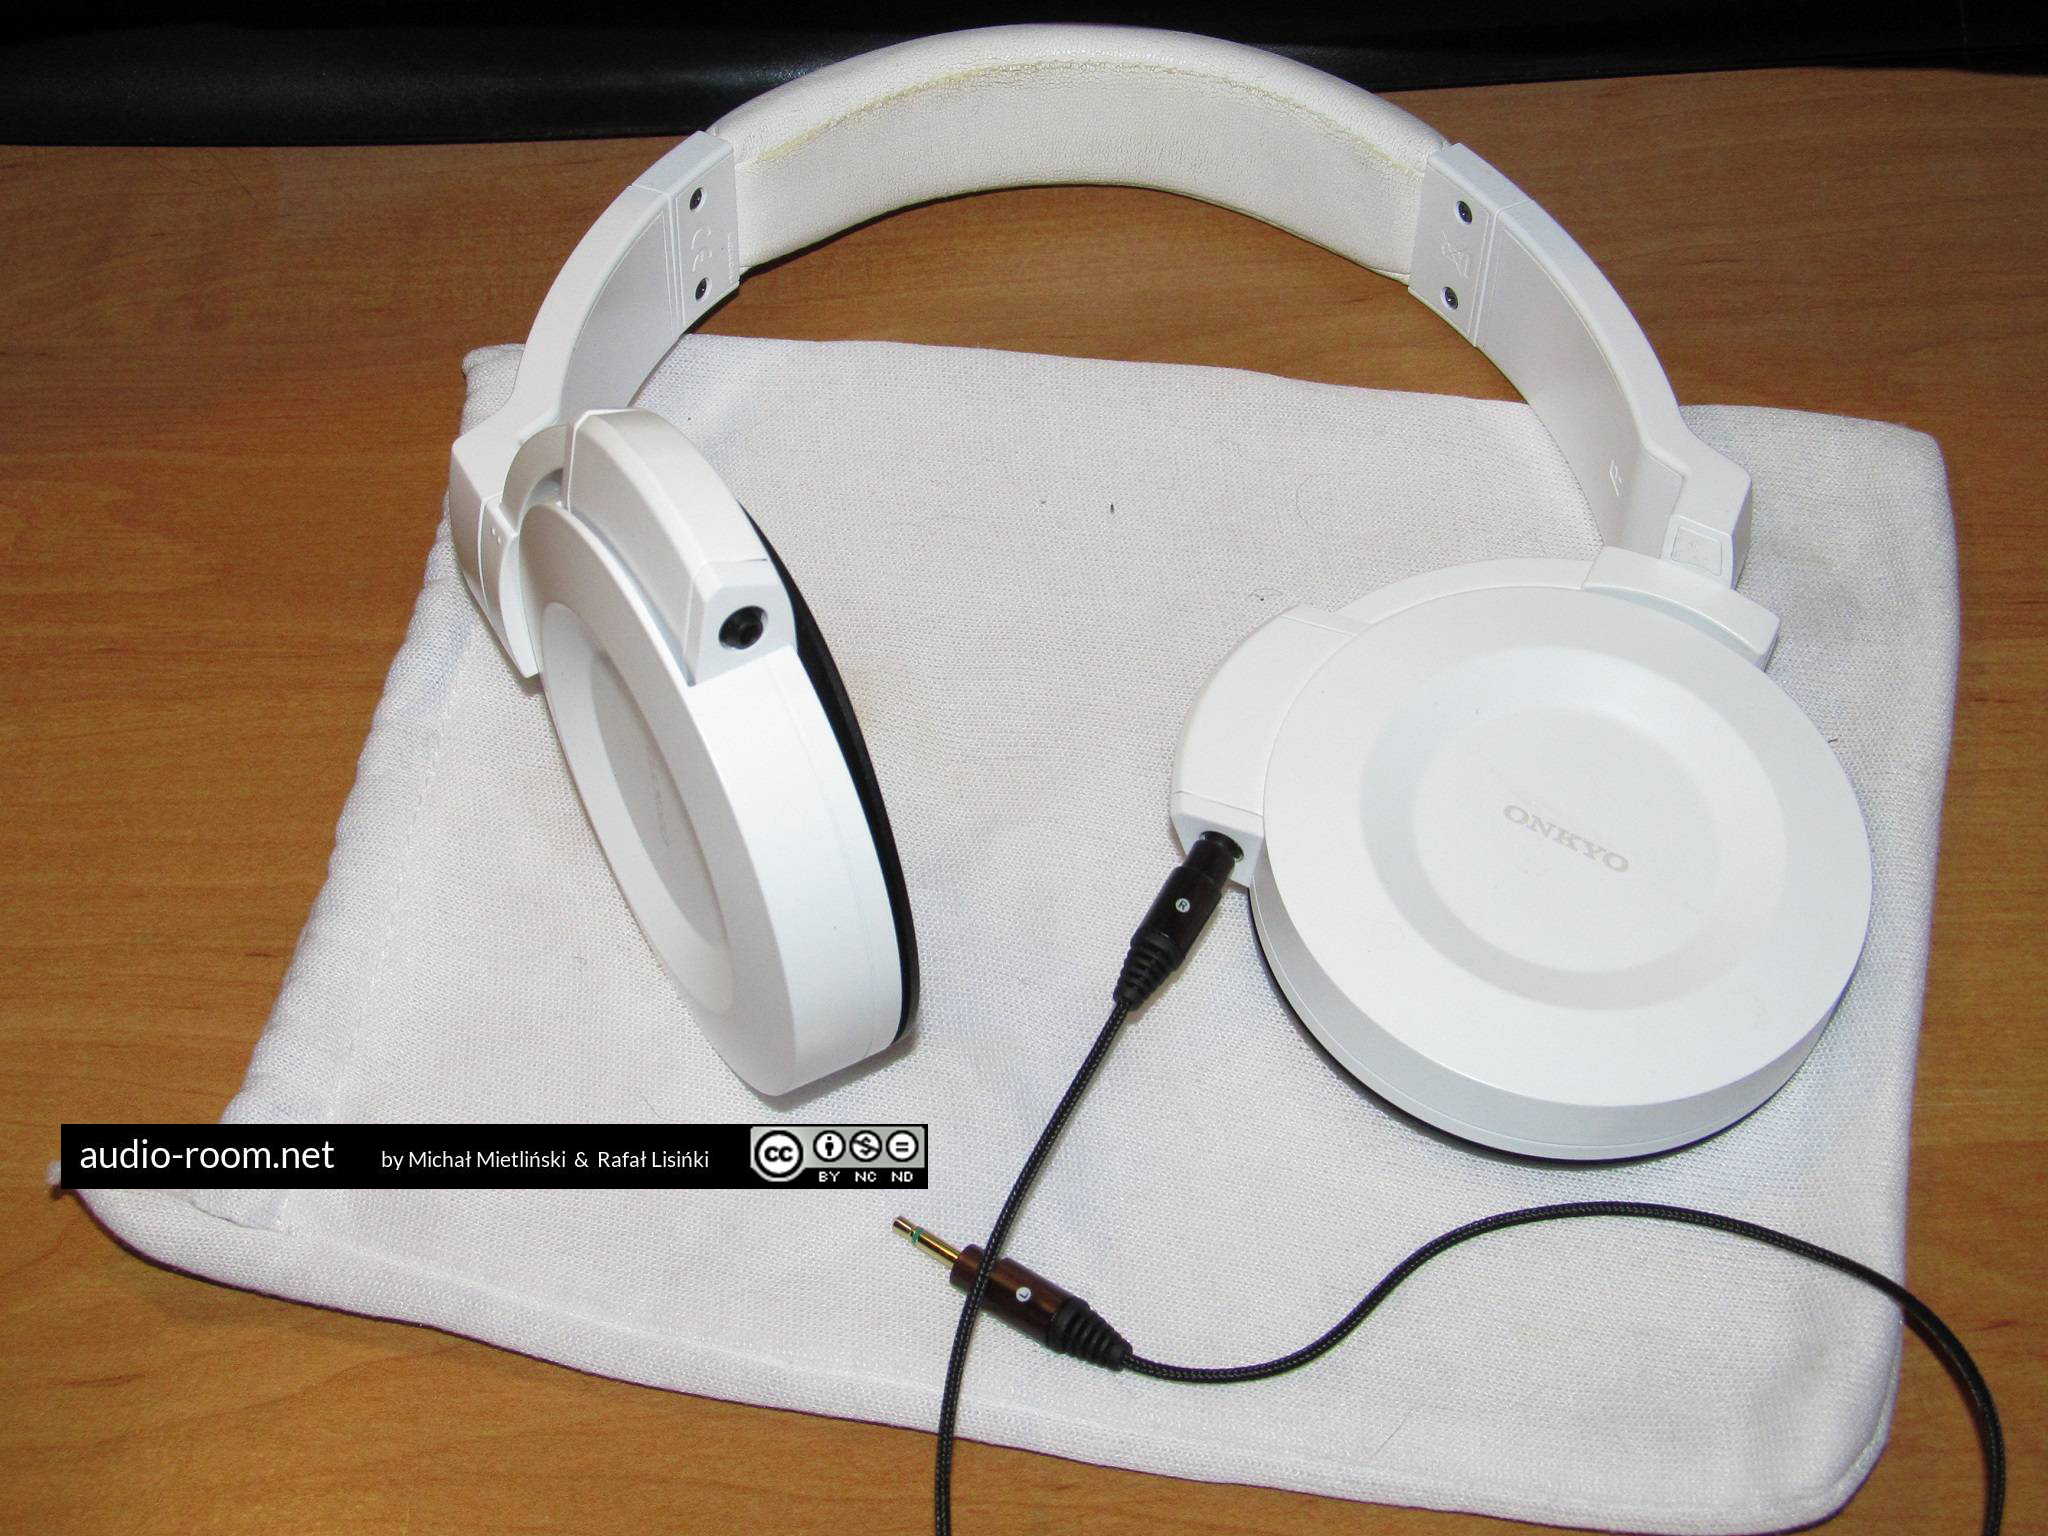
This is a “step by step” description of our modification of the Onkyo ES-FC300 headphones. Great handsets, which unfortunately have a major flaw: intermittent cable sickets in the cups. The modification consists in replacing Onkyo’s unusual and disastrous MMCX connectors with 2.5 mm jack sockets.
The whole procedure takes about an hour. You will need 2 small 2.5 mm mono jack sockets (you can try using 3.5 mm jack sockets), a small Phillips screwdriver, a soldering iron and tin. A tweezel, a sharp knife and pliers or a small vice may come in handy.
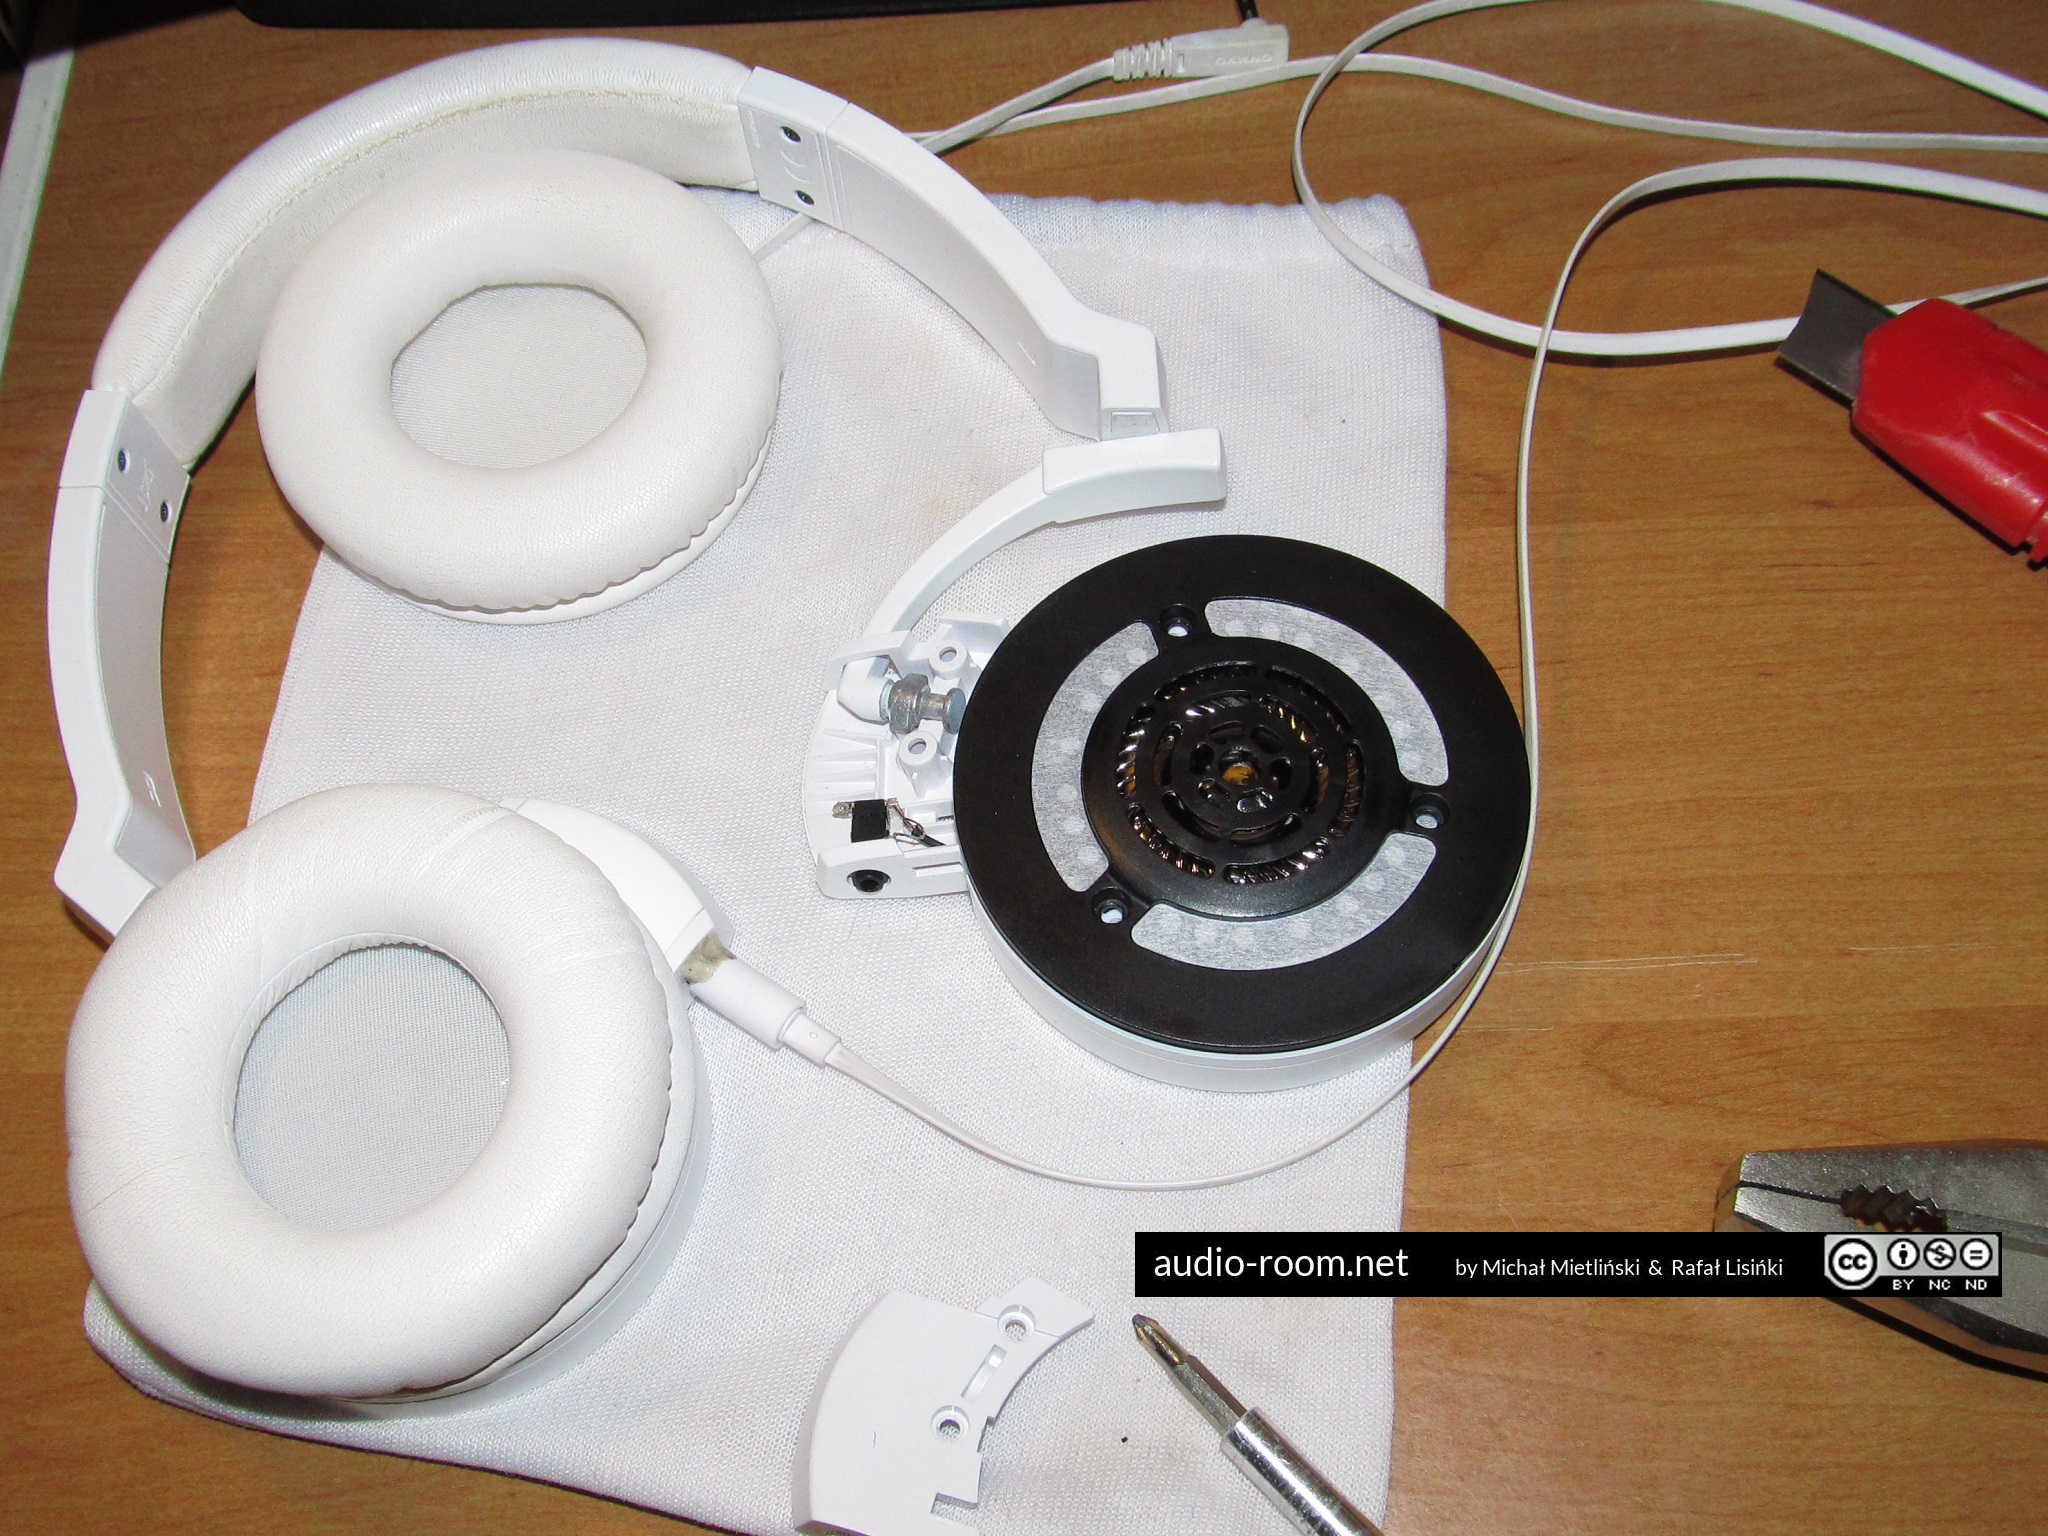
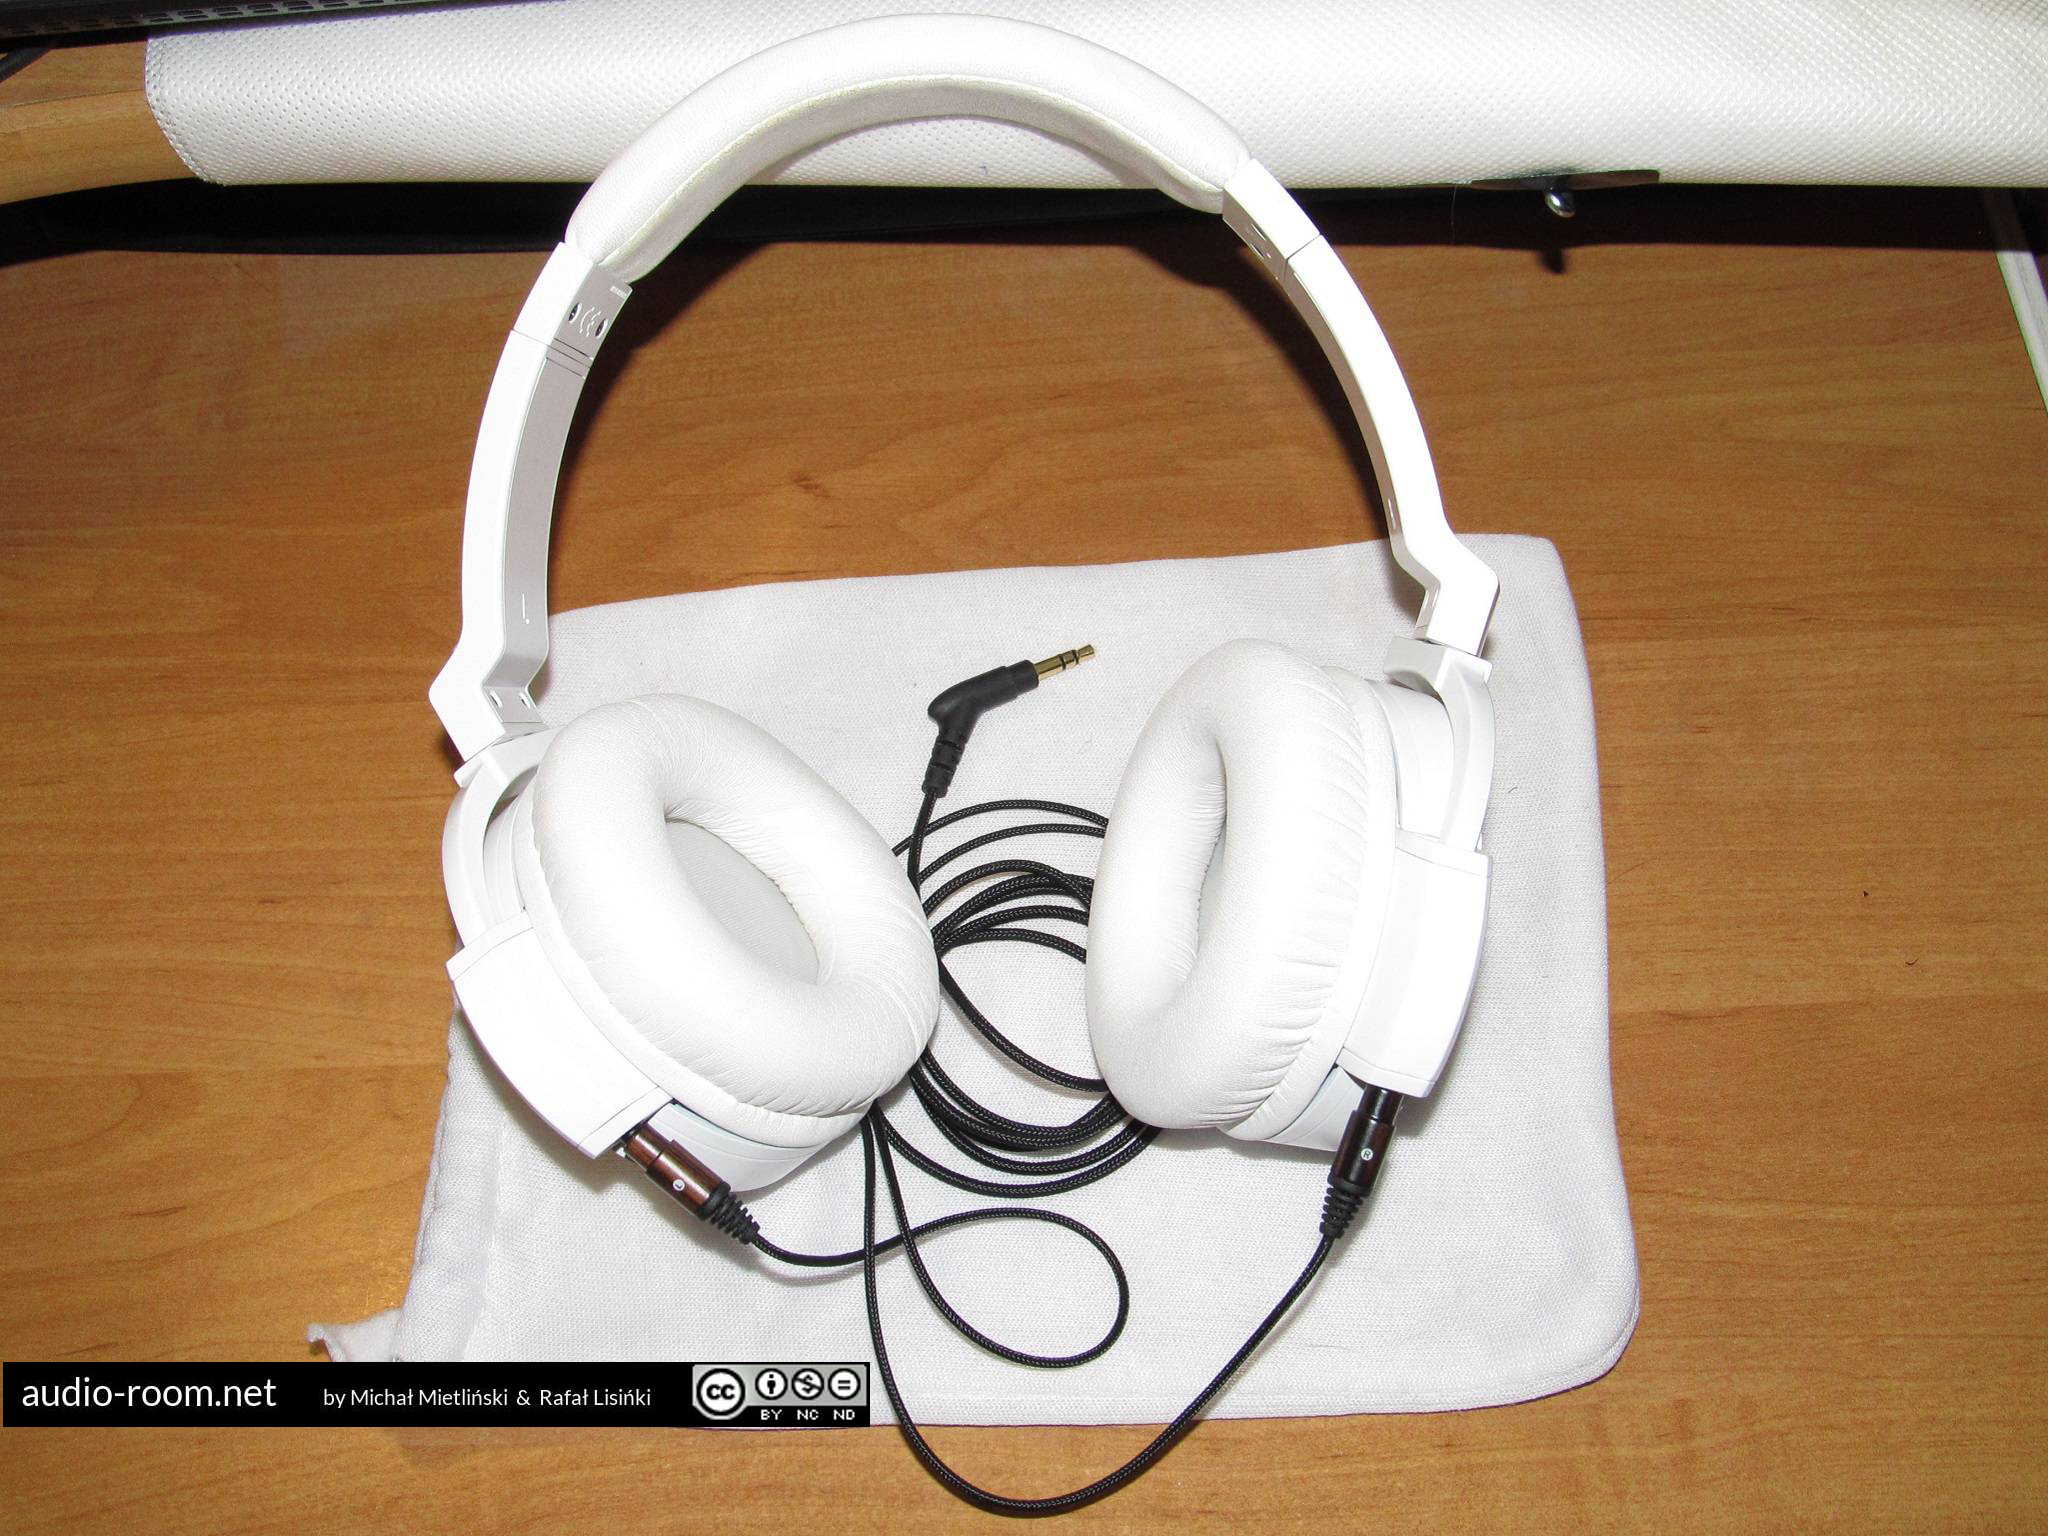
Step 1: Cable disconnected, ear cushion removed
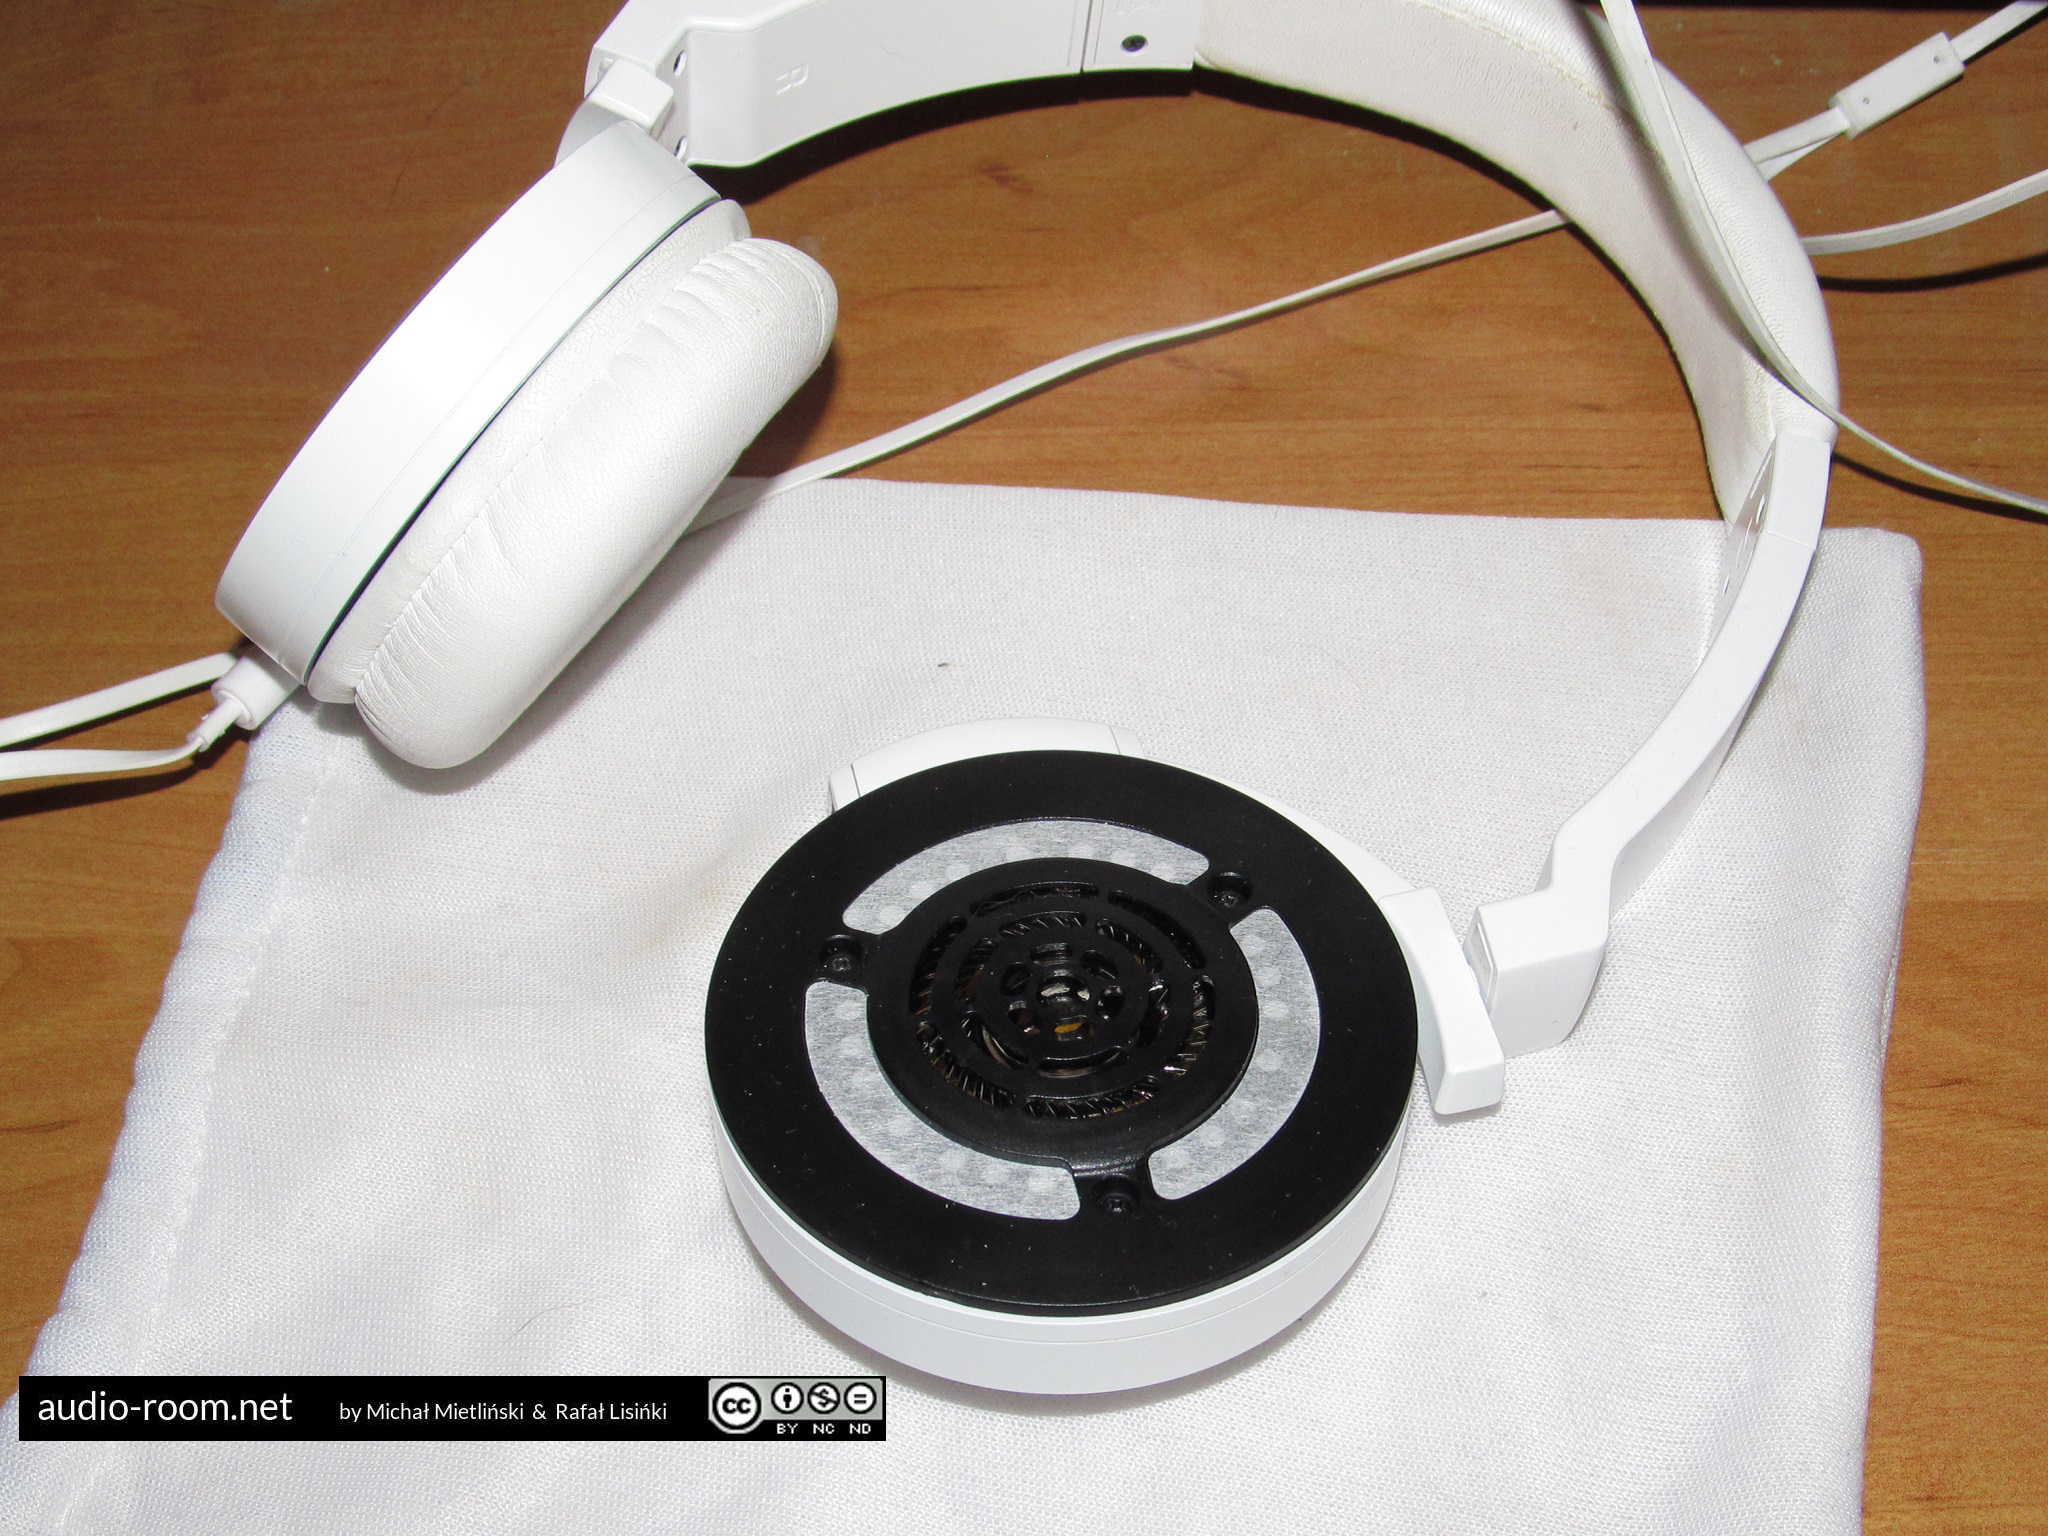
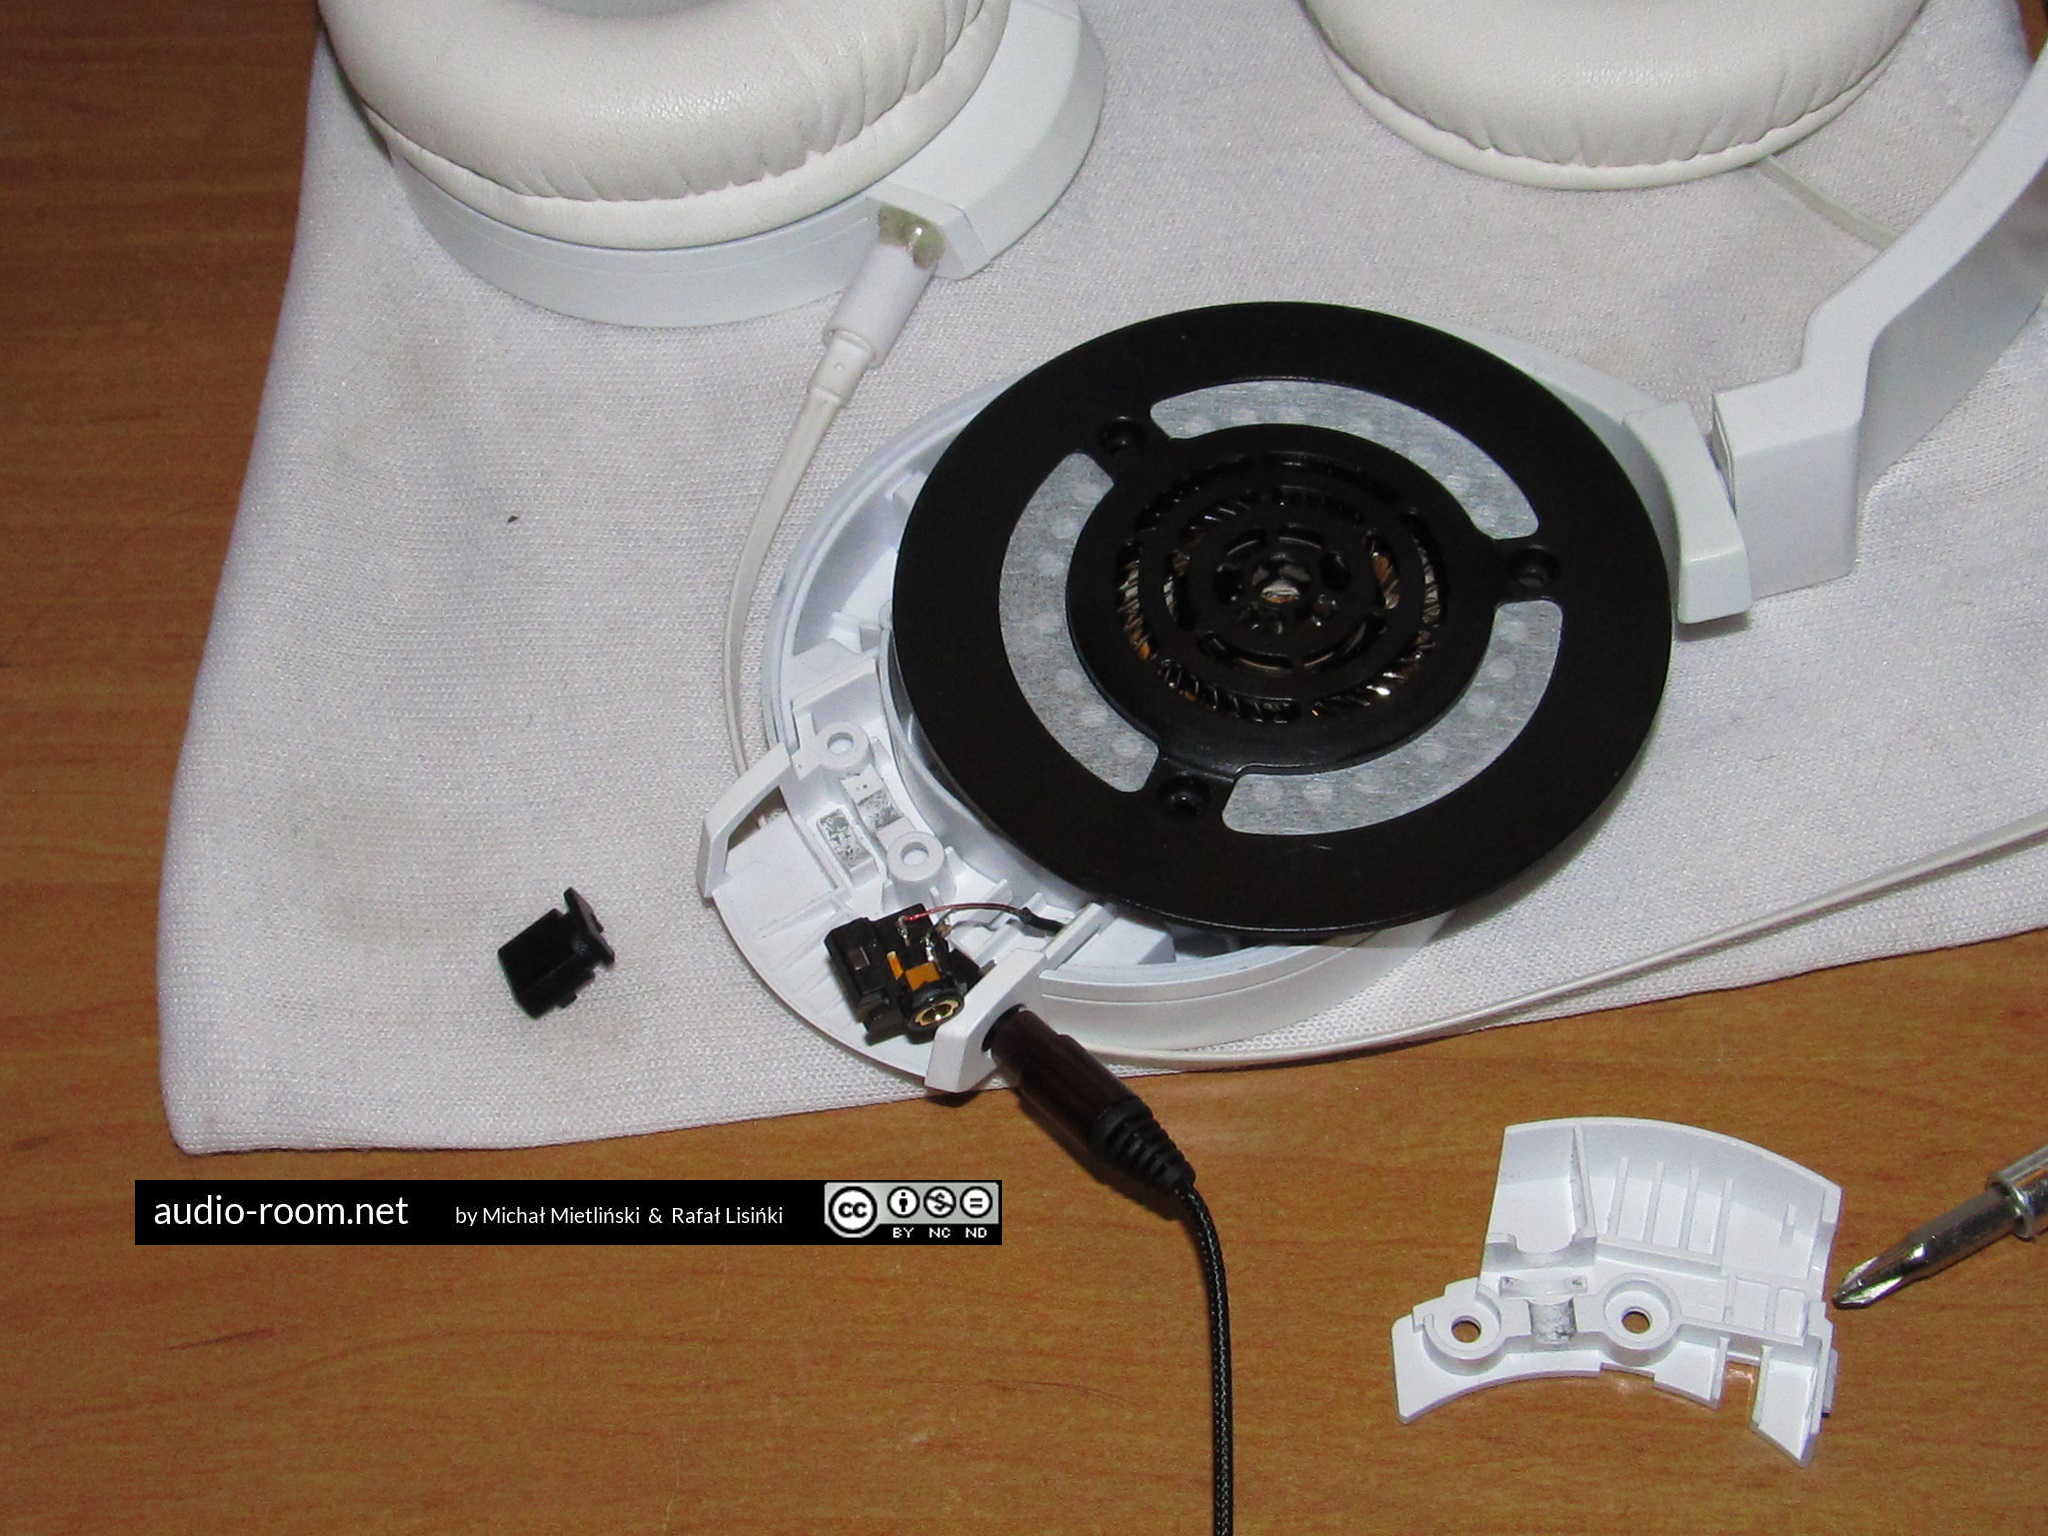
Step 2: Driver unscrewed and pulled out

Step 3: Connector compartment unscrewed. Open 2 clips that hold the metal cover of the compartment
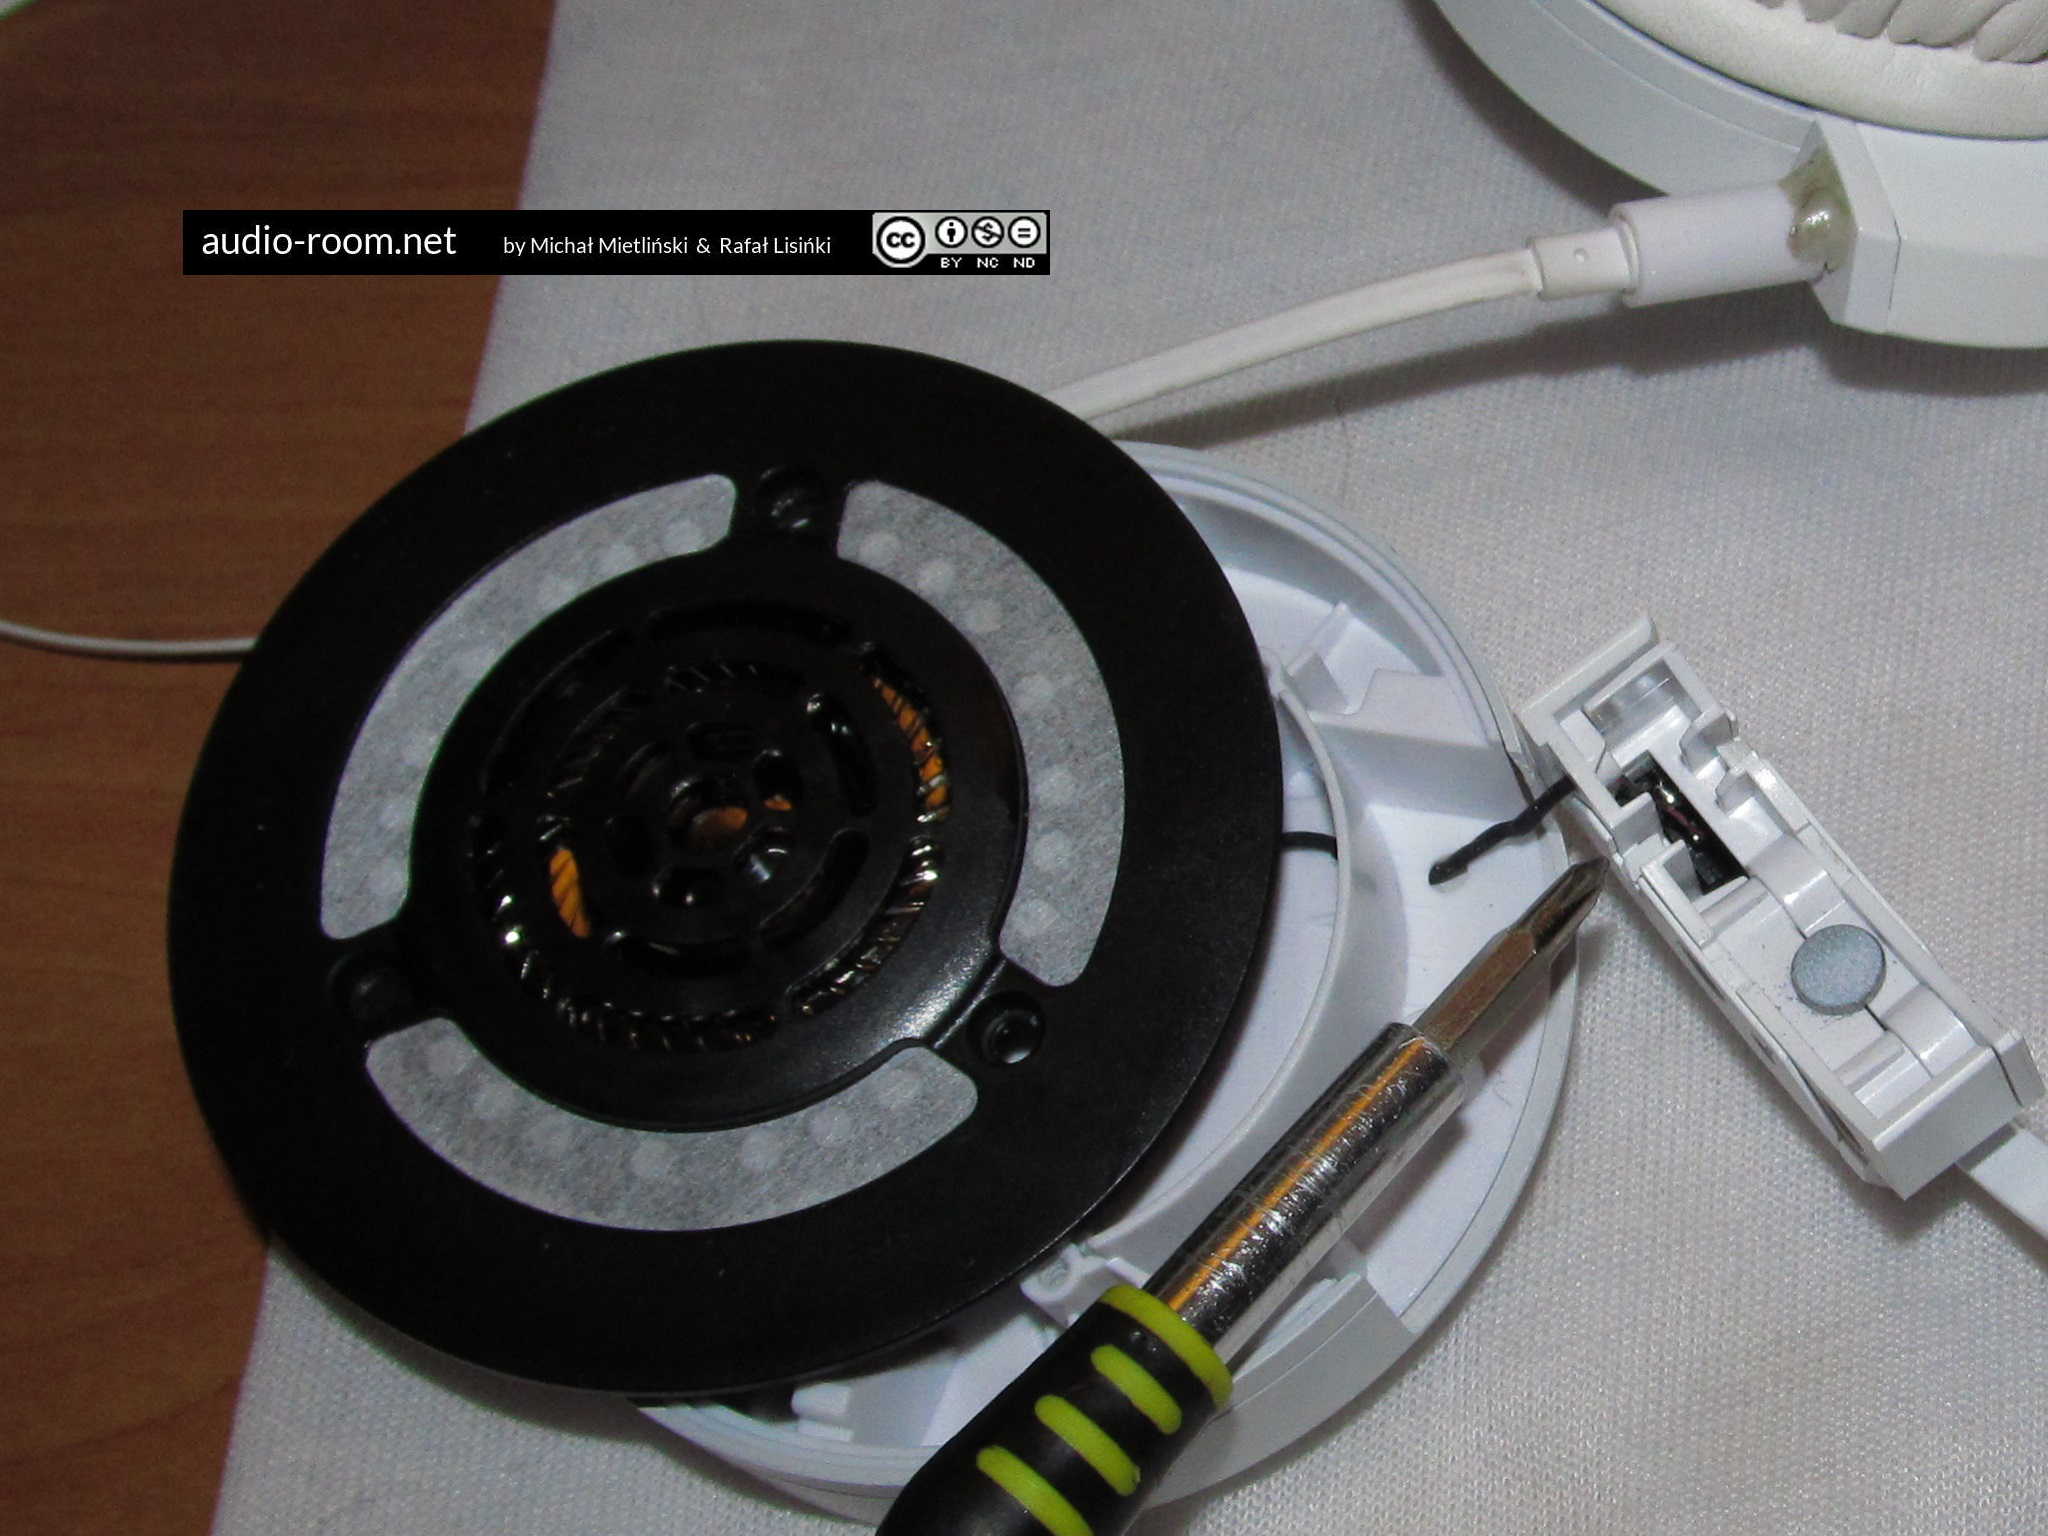
Step 4: Metal cover of the connector compartment removed

Step 5: Plastic top cover of the connector compartment removed
Step 6: MMCX connector pulled out (it’s not glued, only pushed in)

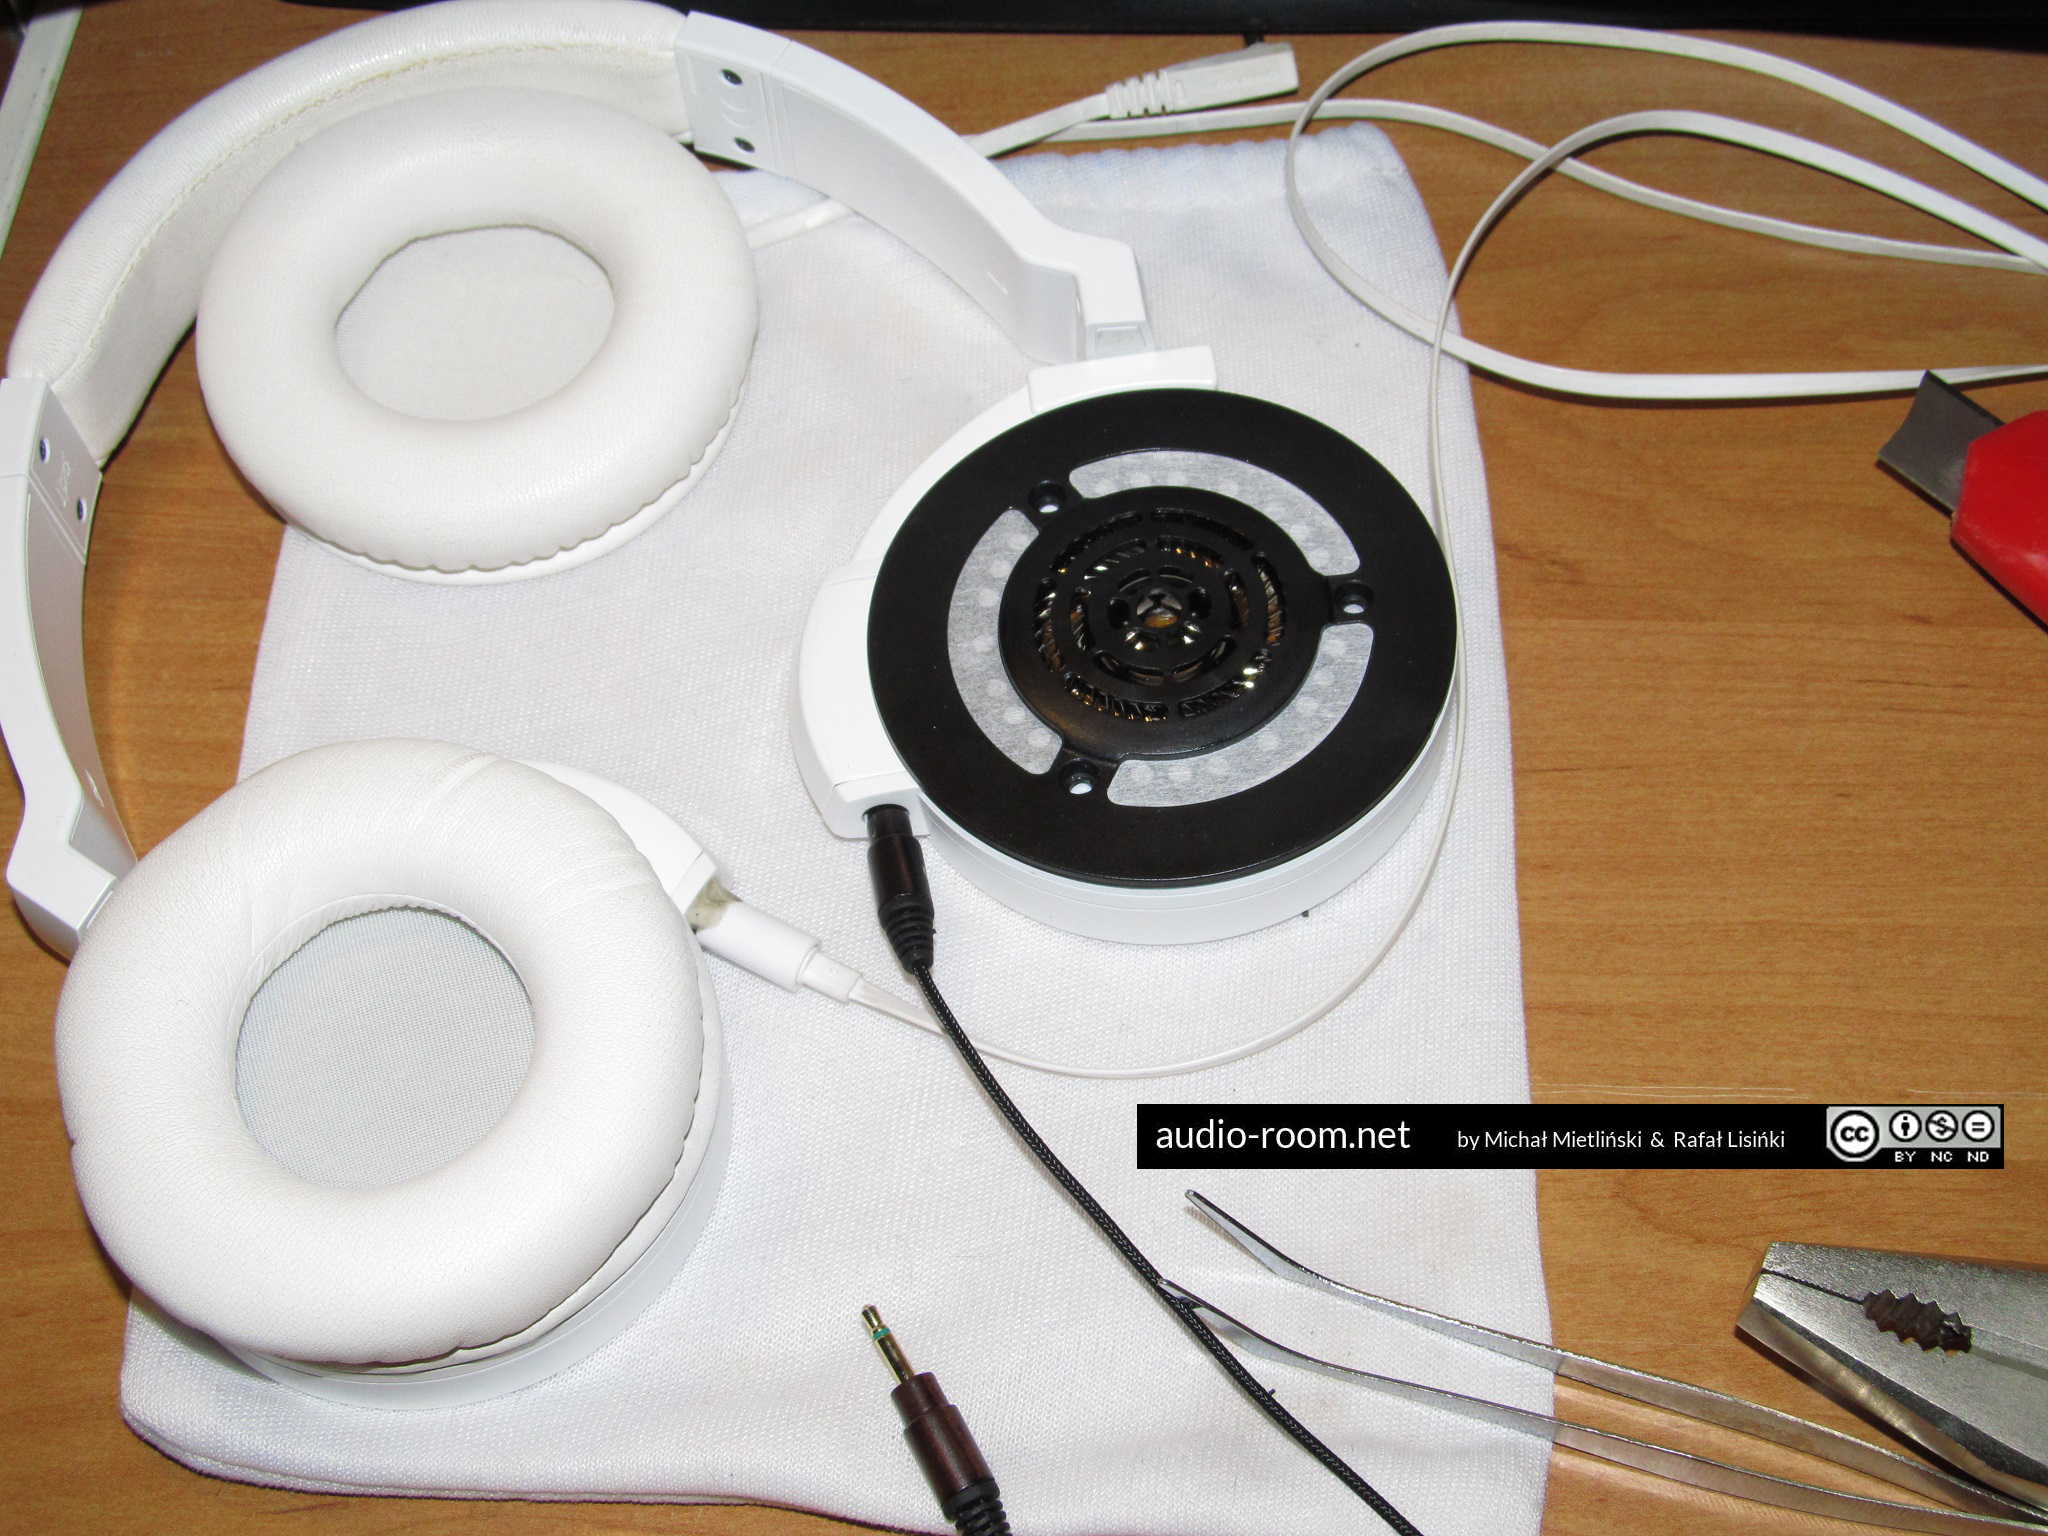
Step 7: Try the 2.5 mm jack socket for size

Step 7 (cont.): Trying the 2.5 jack socket for size. Perfect fit!
Step 7 (cont.): Trying the 2.5 mm jack socket for size. Fits in the opening too.

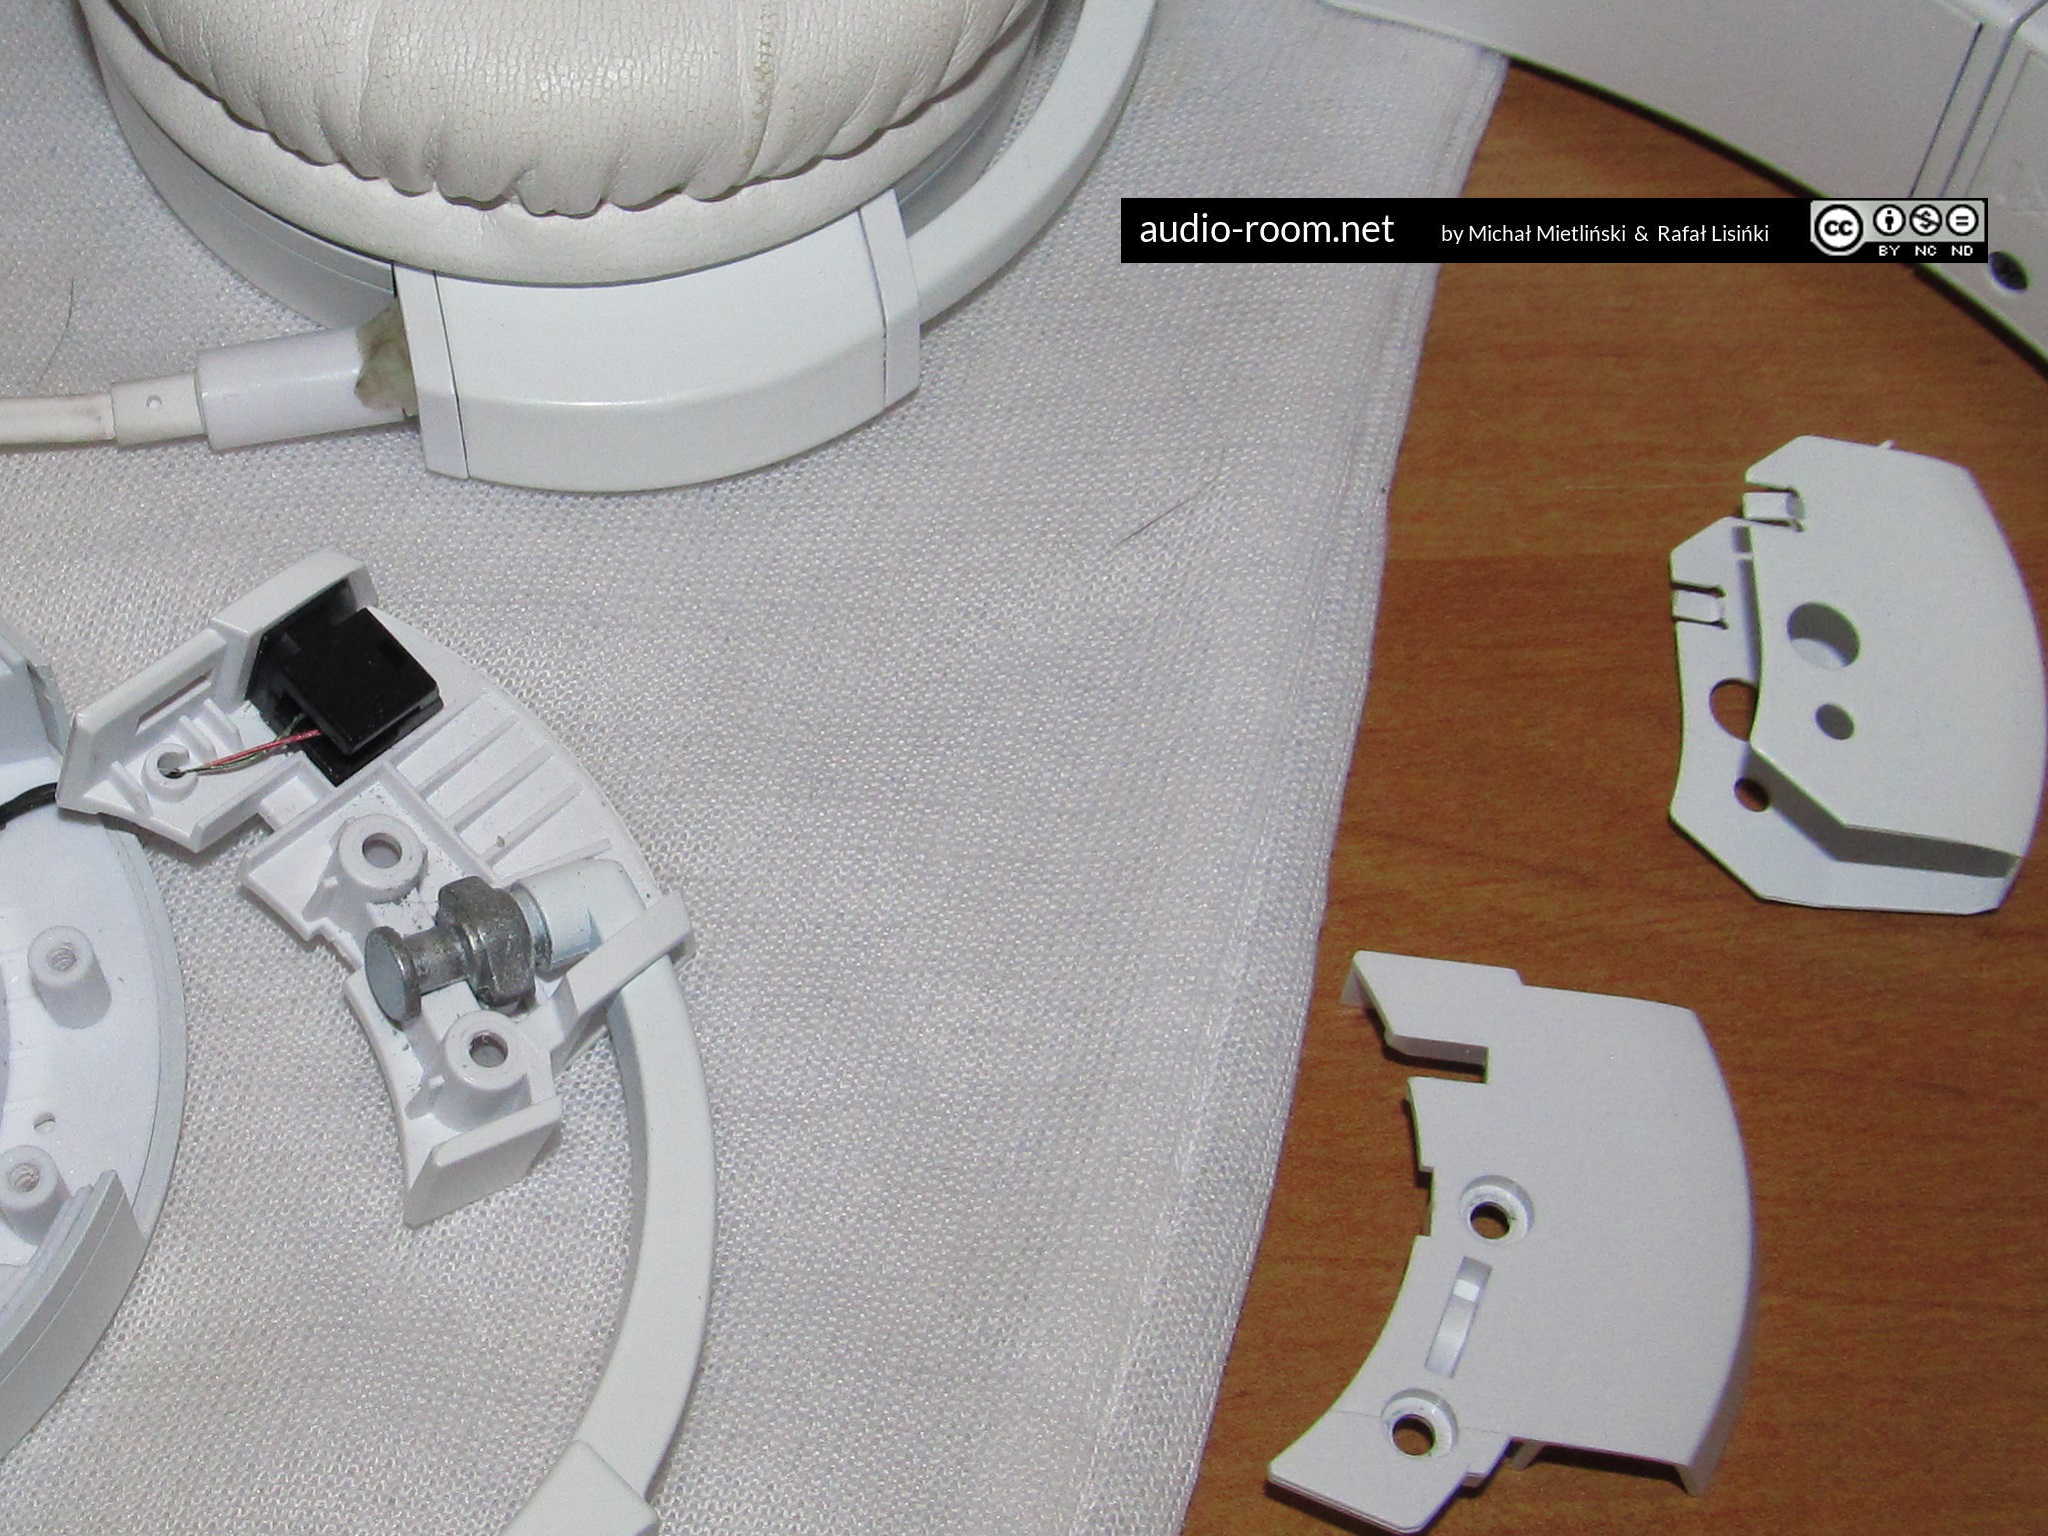
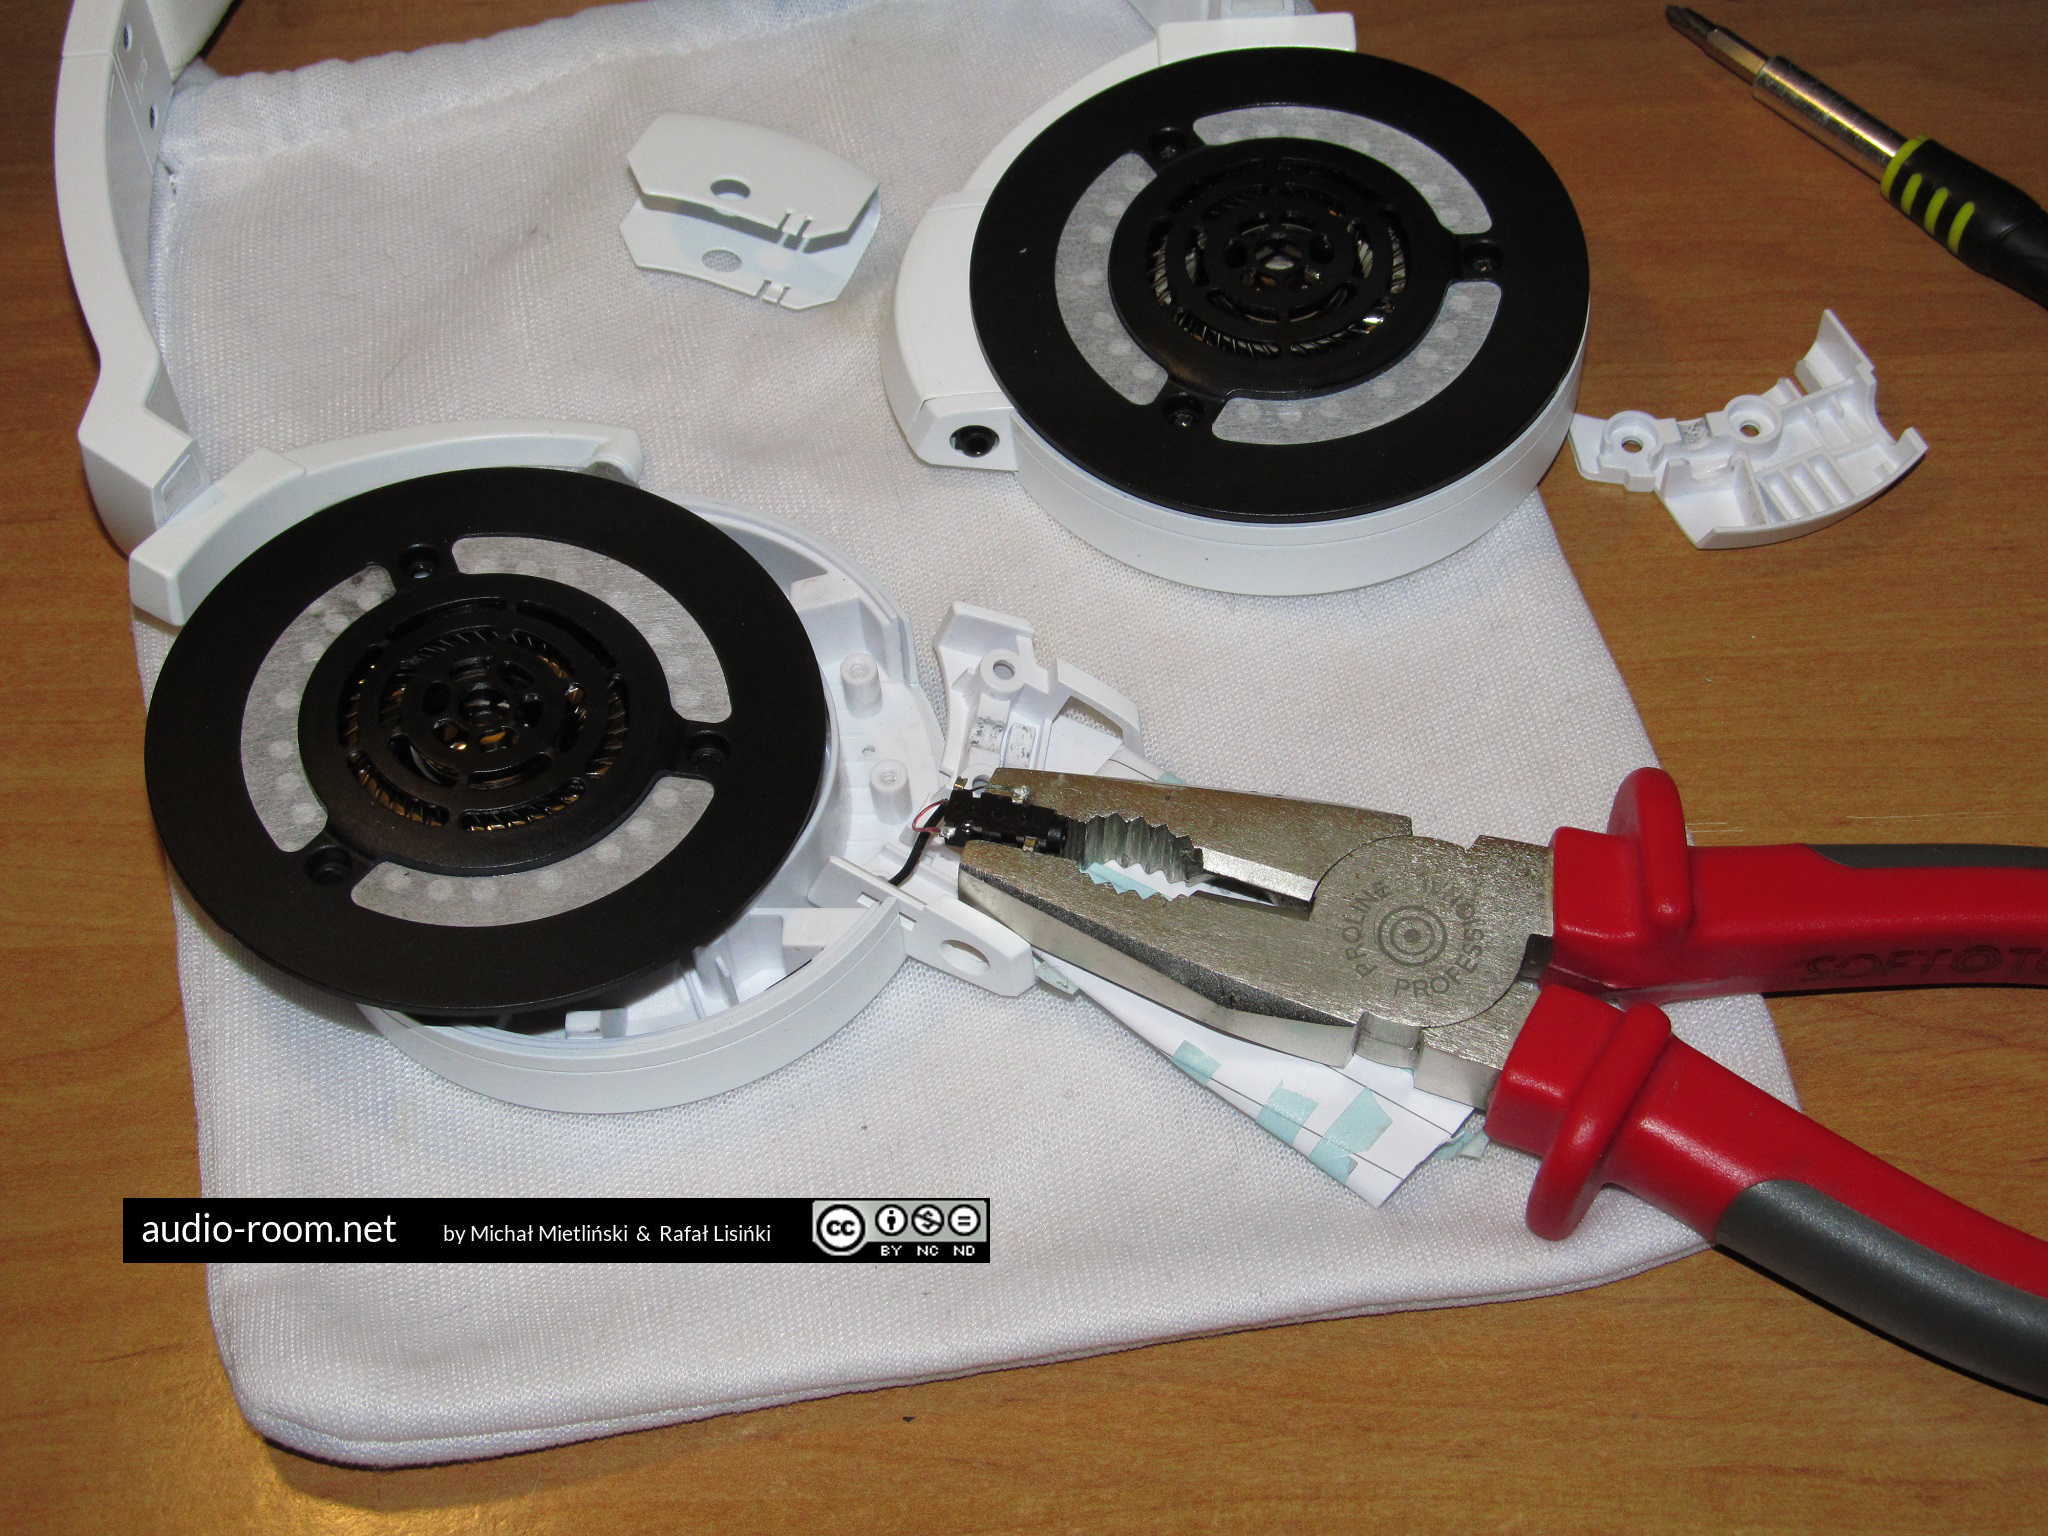
Step 8: MMCX connector opened. No glue here either, a clip lock holds it together.
Step 9: MMCX socket disconnected.

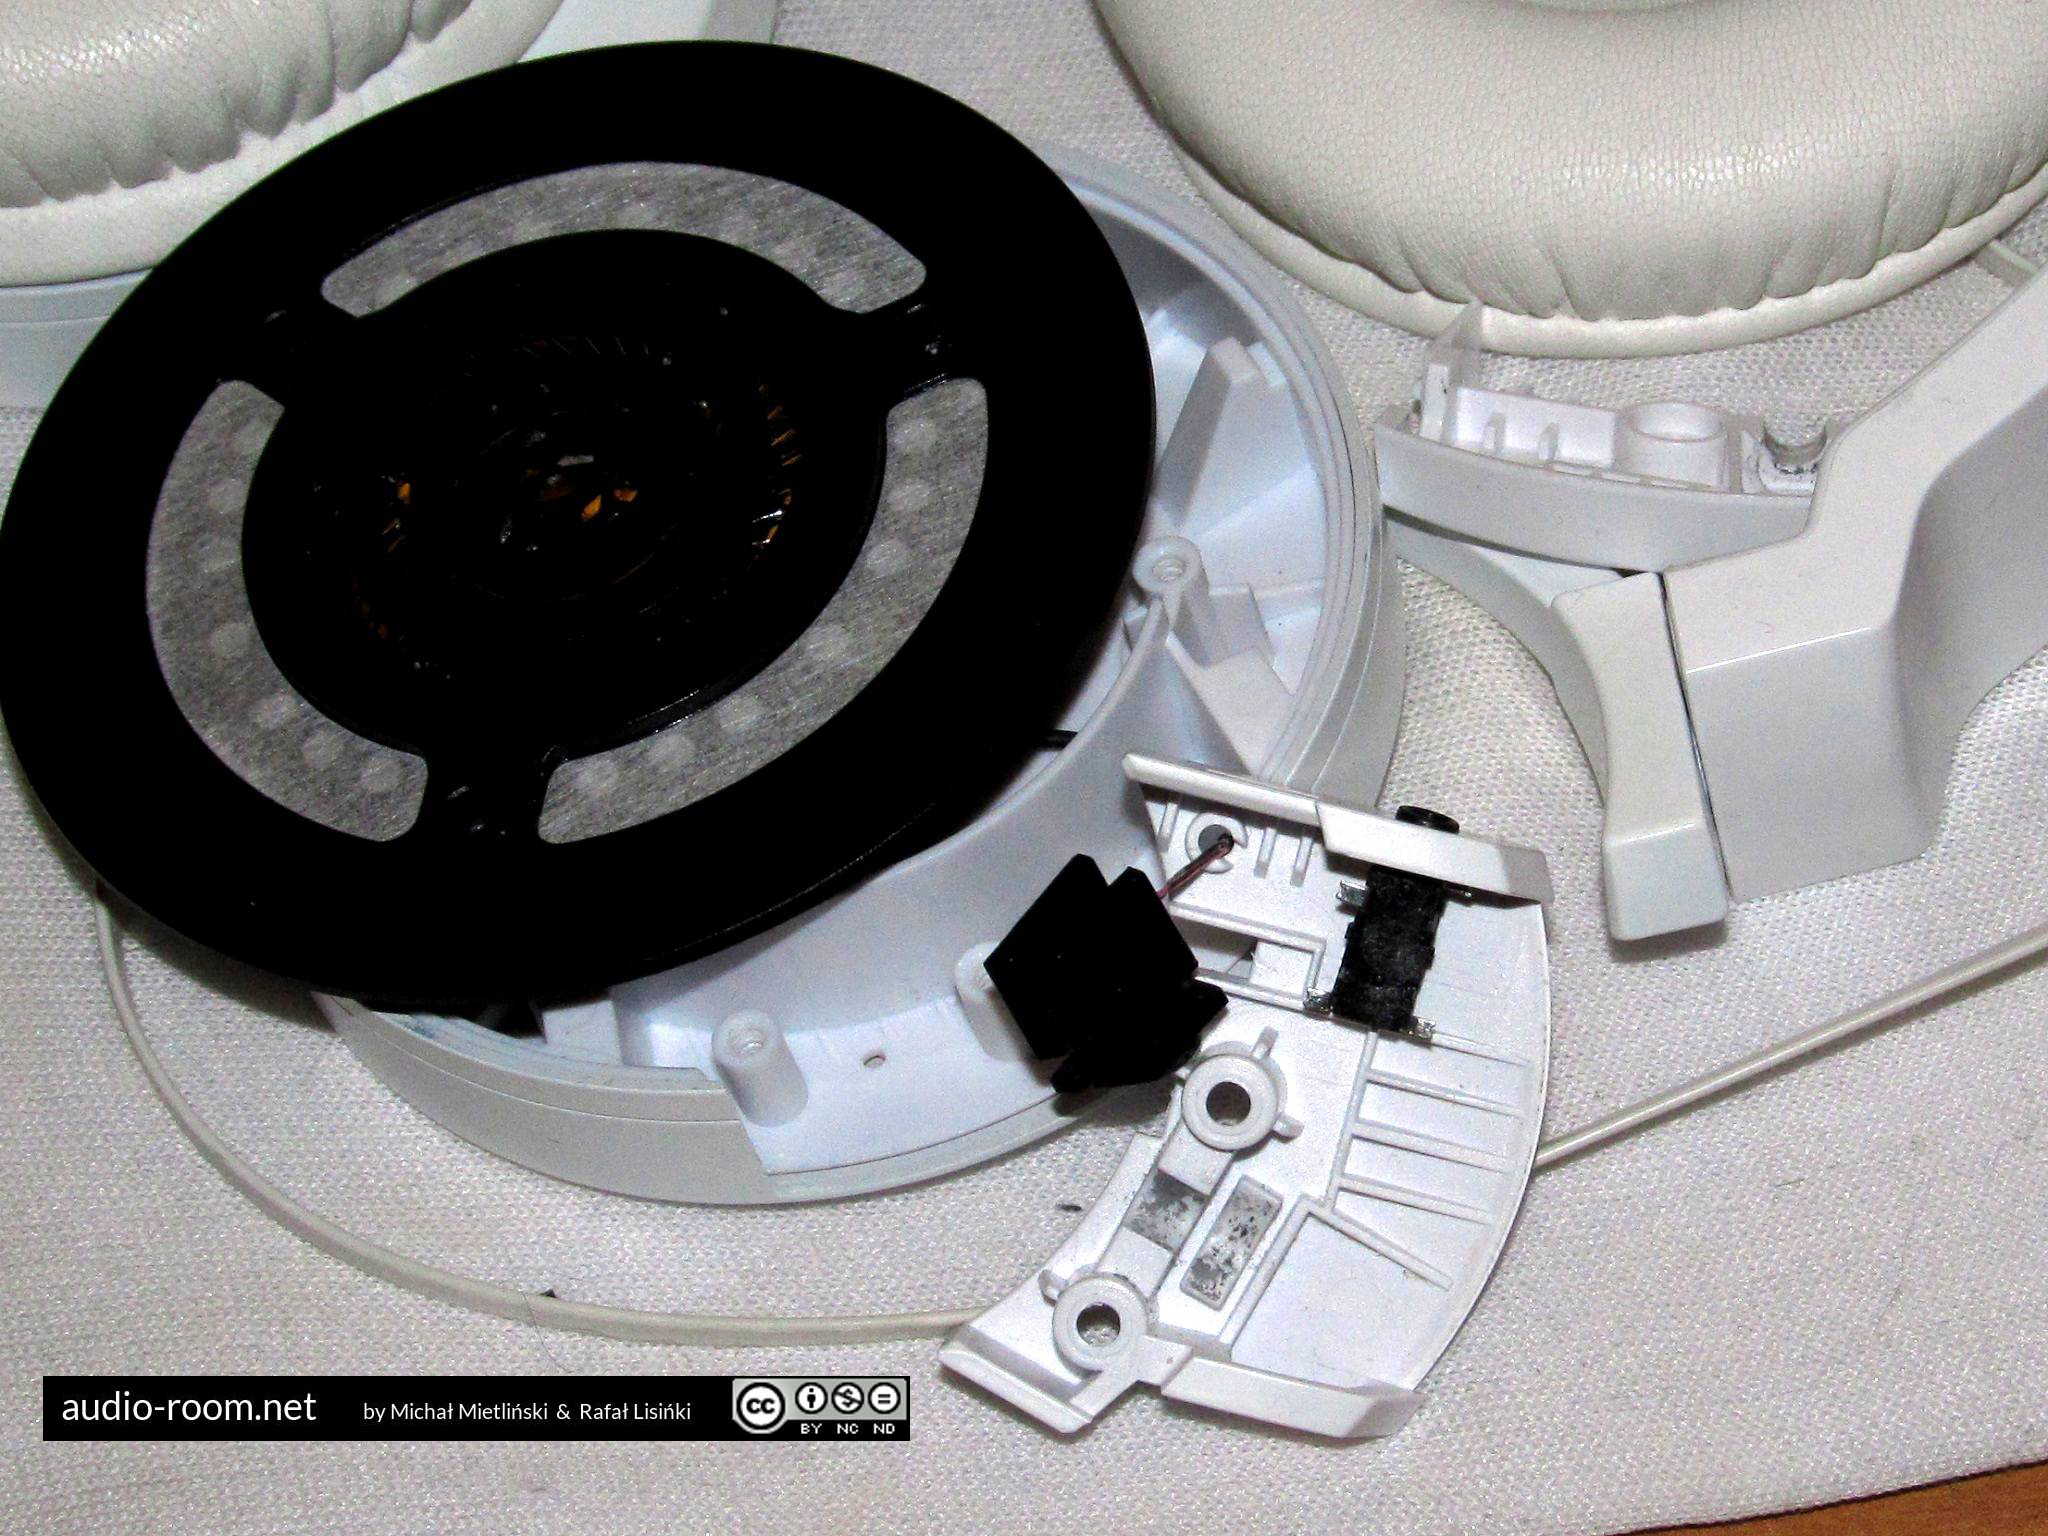
Step 10: Wires soldered to the 2.5 mm jack socket. Double check the polarity, red wire is (+)

Step 11: 2.5 mm jack socket inserted in the connector compartment. It is held firmly in place by the compartment shape, no need to glue it.

Step 12: Put the cup back together. Don’t forget about the headband 🙂
Step 13: Live test. And it works!
Step 14: Do the other cup (repeat steps 1 – 13).
Step 15: Test again, first the other cup and then both sides together.
Step 16: Put the ear cushions back on. Admire your work.
Step 17: Crappy MMCX connectors and overpriced Onkyo cables: BOOM BIDDY BYE-BYE!

That’s it, all done. Of course you can also make a cable terminated with 2.5mm mono jacks in a colour that matches the headphones – in this case white or silver. There are also many aftermarket cables available, as well as original Sennheiser cables for HD 477/497/212, EH 250/350 (part number 083380, costs about $15 its a 3 m long cable without a microphone).
Our review of these headphones::
ONKYO ES-FC300 headphones – review and mod
ONKYO ES-FC300 – mod


ONKYO ES-FC300 – gallery


what is the 2.5mm mono jacks size length and width.help me thanks
The information you’re asking about is in the main article.
The space to fit the new socket is 6 x 6 x 15 mm. Any socket that size or smaller should fit. A socket that has larger dimensions will not fit.
You can use a 3.5 mm jack socket if it is 6 x 6 x 15 mm or smaller and fits the space. I used 2.5 mm because I already had a few cables with 2.5 mm plugs.
You can also solder the cable directly to the internal wires in the headphones, or even directly to the drivers, if the cable you use is thin enough to run it through the existing hole or you drill a bigger hole. This is the best solution if you don’t need a detachable cable.
The sound with most decent quality wires will be pretty much the same as with the original wires. If you use a very high quality wire, it might improve slightly. If you use a poor quality wire, the sound will get worse.
The thing that will improve is the connection – no more intermittent sound.
I found a high quality socket. Its a 2.5mm ,CUIdevices product.I like the gold plating,but length only about 11mm.I doubt Its unstable.The terminal of socket is Ti copper.Anyway,I decide to try .
If the socket is smaller than the space, you can always add some filling material inside to immobilize it, or even glue it in. Should be easy enough. Good luck!